All posts tagged: WIP

How to Weather Wheels and Tires

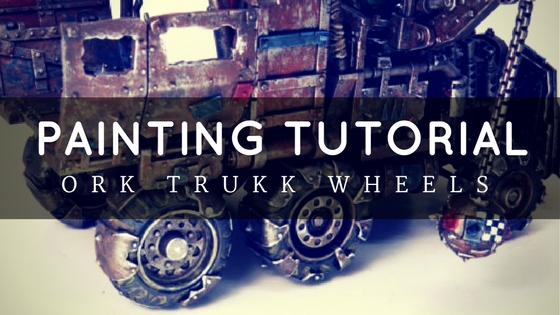
How to Paint Ork Trukk Wheels

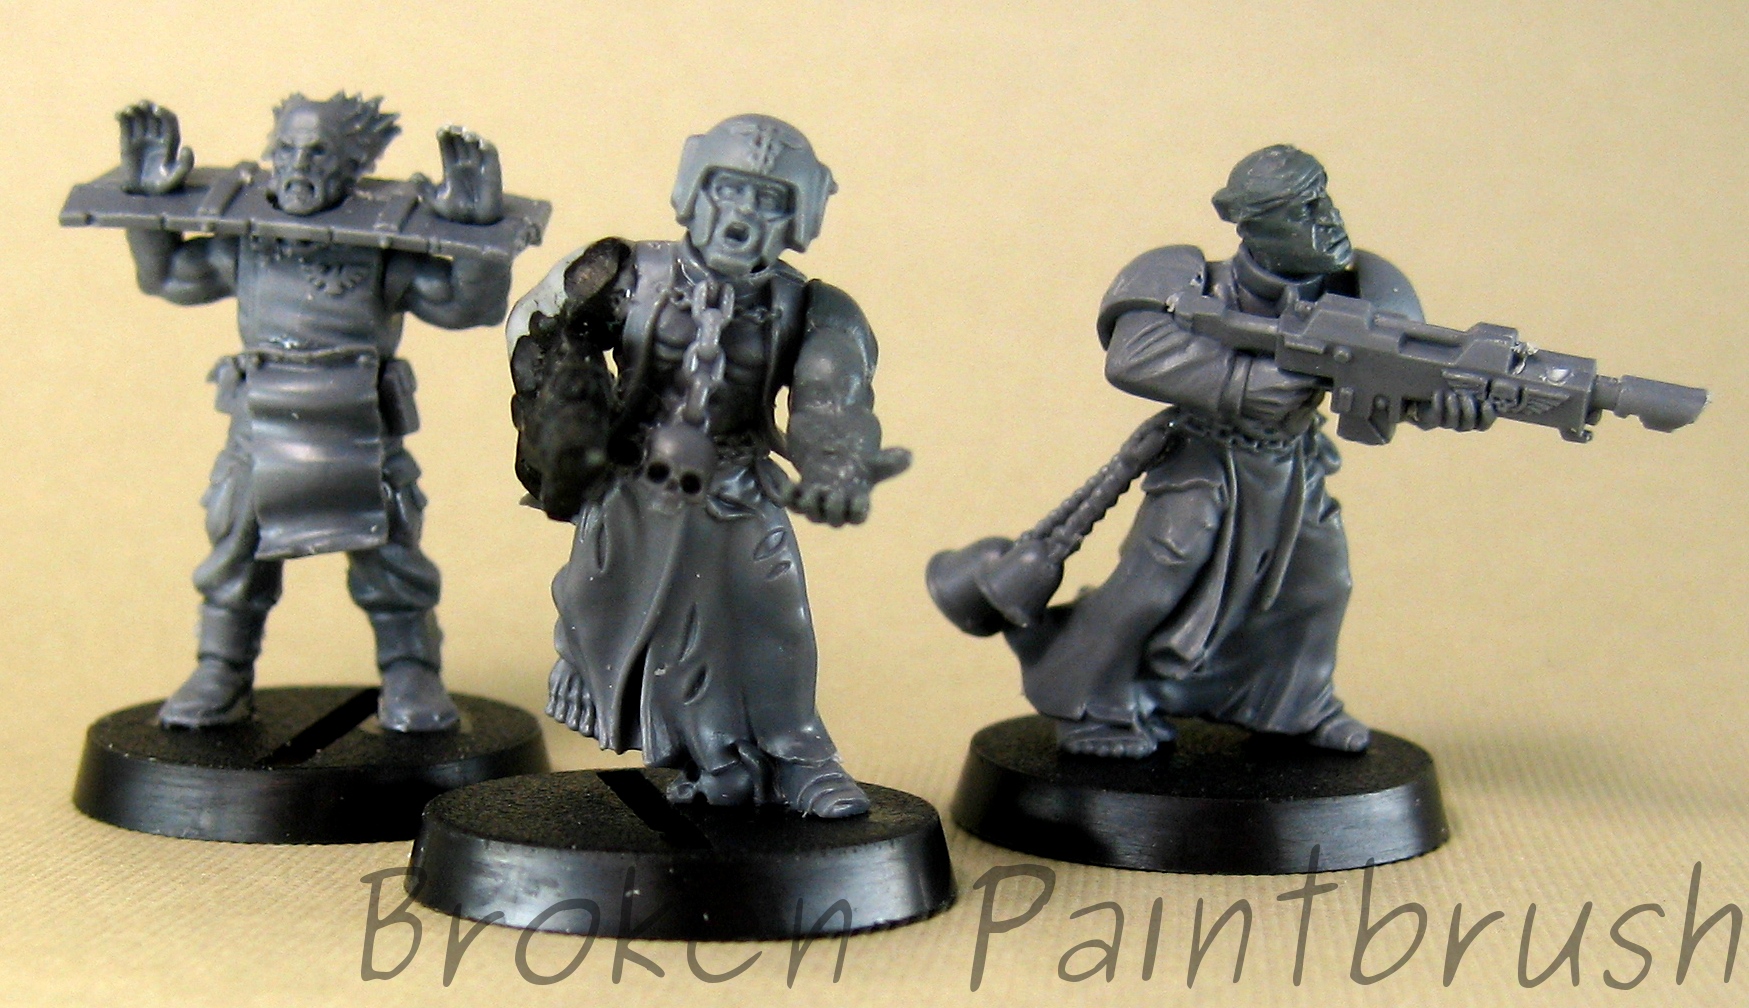
Over the years I have been painting, I love coming across a tutorial on something I haven’t done yet and gleaning just a little bit of information off of it. So here is my second how-to of the year – following up on my Ork Warboss – and a chance to give a little something back t0 the community. I have another tutorial on the rest of the Trukk, but here I want to focus on the wheels. As you can see below, I kept the wheels, crew, and wrecking ball separate from the main truck body to make it easier to paint. The crew and wrecking ball were lightly glued to scrap bases, and I found the wheels hubs were the perfect fit for the penny nails I use for pinning. Using some old corks I could paint the wheels and allow them to dry without touching any painted surface. Painting the Trukk Wheels Step 1: The Metal The wheel was left black from the primer, and all the metal areas were coated with Leadbelcher. Ryza rust was …

Painting Death Skull Warboss

Painting the Ork Warboss

For my recently posted Ork Warboss, I took a few in progress shots to provide some how-to content. I hope this post on painting a Death Skull Warboss helps get your Wagghh! going. Step 1 – White Base Coat First up is a nice, white base coat. White is nice for creating those bright blues and gory reds. The problem with a full white undercoat is that you need to paint EVERY thing, otherwise it is very stark and apparent, black base coats are able to hide this by making ‘shadows’ Step 2 – Green Skin Next up is painting the various base coats such as the Warboss Green for the skin. All the colors are kept fairly bright at this point to allow for shades that will darken the look. Step 3 – Blue Base Coat The blues were also blocked in with Alaitoc Blue, it doesn’t need to be tidy as the shades and highlights will clean up the mess. Step 4-10: More Base Coats and Wash This is where I must apologize, I skipped …

Hacking Custom Decals

So on my Knight Titan I had decided to create my own house, which meant custom house insignia. Now, I’m not a great free hand painter (yet), and since the pattern would need to be repeated multiple times over the model, I needed to turn to water transfers. While I haven’t tried it yet, I have heard that Testors Decal Paper can work really well if you have a design in mind. After searching through my pile of transfers from Space Marines, Chaos, IG, tanks, the knight titan, and even the Ork and Eldar sheets that I had, I finally settled on the winged sword from the Baneblade to create my custom decal. The only problem was that the two transfers on the Baneblade sheet were only big enough for the shins and as i wasn’t confidant that I could hand paint a larger version for the shoulder, I turned back to the decals at hand. Looking at the Hawkshroud icon, it would give me a great wing once the head was removed and the wing turned 180, …

Green Marines of a Different Kind – WIP Mentor Legion

Although I have been much busier as of late with grad school and health goals for the year, I am still making slow and steady progress on the Mentor Legionaries. As you can see i the pictures below, I have a good chuck of the army built and primed. The first up to receive paint were 15 tactical marines (I had the first 5 already done), and the librarian and the chaplain from the Dark Vengeance box. At this point I have the base colors, wash, and the white are now done. First up is the chaplain, I really like this model from the limited edition set and with only a few minor modifications will make a great chaplain for any other chapter. The white base was started with Zandri Dust, followed with a wash of Earthshade. The white was built back up with the dust and finally pure white.   Next up is the librarian. A simple arm swap with one from the Chaos terminator lord, removal of a few of the dark angle markings, and a …

Warpsmith Pre-Painting Front

Warpsmith Review – and first finecast

Of all the new Chaos releases, the Warpsmith caught my eye as the most exciting to paint. I was a bit hesitant though, as this would be my first Finecast. I had heard of many issues with the new medium and wasn’t sure what I would find in the box. Man am I glad I took the leap though, the details on this model are outstanding! While I had a few bent parts that were easy to fix with the hot water bath, there was nearly no air bubble issues. About the only issue I had was cleaning all the mold lines which did seem to crop up all over the place. The model came in 12 pieces on two sprues with the largest piece being the leg/torso combo. This piece could make an impressive lord with a bit of work to clean up the back-pack area. The rest of the pieces involve the 5 longer tentacles, the head, back sections, each arm/shoulder, and the ax hand. As you can see the ax was a …

Chaos Conscripts WIP

Traitor Conscripts: The zombie slaves start to assemble

In between painting sessions, I’ve slowly been building up the legion of conscripts for Traitor Guard. Using a mix of Zombies, Flagellents,  Cadian troopers, and various bitz I’ve picked up along the way, the unit has started to come together. Current tally is 20/50 built. Why so many conscripts? Well it seems 6th edition has turned into a troopers game and there is no cheaper trooper than a pack of conscripts with “Send in the Next Wave!” For 270 points I can field 50 models, take them off at any point, and bring them back on the next turn! Combining the various kits has been a challenge of patience and creativity. The various bodies don’t line up with the different arms, and the heads are made for completely different sockets. This has led to green stuff magic to hide defects and tie pieces together as you can see in some of the individual shots below. I particularly like the second from the right above, he is my zombified Rambo. But you can see the small amounts of green stuff to tie …

Chaos Bastion WIP

Bastion Progress: Nearly There

I have made a bit more progress on the Chaos Bastion of the few weeks. I started to regret painting the brackets supporting the horizontal trims metal as they seemed to take forever, but I like how it turned out in the end. The gun emplacements are still separated but are already painted the metallic. Still left to do is the weathering and chaos stars similar to the Russes. The stars will be interesting as they will most likely cover multiple sides so it may be a bit of a change to balance the number and size of them. The defensive walls are also in progress and I actually used the spray gun to paint the red/orange on some. I will post them up soon with notes on the air brush.   [amazonify]B002G21PC2[/amazonify]

Using an X-Acto Chisel blade to remove Aquila

Removing Aquilas – Creating a Chaos Bastion and Defense Lines

Often the first step in converting, removing Aquilas and other details can help transform your miniature into other factions. When the Bastion and Aegis Defense Lines were released, I was excited that they had a Chaos Bastion kit as well. I’m sure I was not the only one sorely disappointed, and a bit embarrassed for GW when I realized the “Chaos” bastion was just the usual one with the accessory sprue added in (at an extra cost of course). Being in product development myself, it just baffled me why GW molded the Aquilas into the kits rather than having it as a glue on piece. They could have then sold Chaos, Ork, or even Tau accessory bits to glue on instead. But alas, if you want to use these kits for non-zombie worshiping factions, here is how I removed those pesky mutant eagles. The Tools First you need the right tool: the chisel Xacto blade! (more info on X-Acto knife here) I’m not sure what the blade number is for this guy but the key is the flat blade at the …

Chaos Bastion WIP - Front

New Models for 6th Edition

I’ve been pouring over the 6th edition rules the last couple of weeks now, and overall I’m excited for the changes. I especially like the idea of over-watch giving my pour renegade guardsmen some protection against assaults. All the minor changes are going to take some time I think to settle out their benefit/cost to the game. From a hobby standpoint and someone who isn’t into the competitive side, I like the idea of the new army structure including allies and structures. Will it get abused? of course, but so will any rule set put out. I’m working on more posts about my guard and Iron Warriors in 6th but as I was reading the rulebook I remembered I had this in the closet of doom (tm mordian 7th): I had bought one of these when they had come out thinking of actually playing a planet strike game with it (anyone actually plan that expansion?). After hours of scrapping off those blasted Aquillas and gluing the upper walls together wrong, I started painting the Bastion …

Traitor Leman Russ WIP - Sign of Chaos - right

Traitor Russ WIP (4) – Second Mark Completed

So the second Russ went a lot faster even though I did a bigger Chaos star. I also was more careful with not rubbing the masking medium and it paid off. In trying to keep the stars more free-form and chaotic I choose different centers and angles for each but kept the same size to give some coherency. Next up is some more detailing and the final weathering (dust/mud splatter) [amazonify]B002ICAXLY[/amazonify]

Lemun Russ WIP - Back Side w/ Markings

Traitor Russ WIP (3) – Slow and Steady

So I’m hoping that I’m starting to pick up the pace a bit now that I’m getting back into the painting but it still feels like I’m slogging along. Anyway, on to the new work: I spent this last week to add a chaos star to the tank to add some color and break up the large side. As I said in the last post the idea came from the amazing Dave Taylor’s work and tutorial. The base coat is Tausept Ocher, then adding Dheneb Stone and finally Skull White for the highlights. I wanted to set off the yellow from the red as the two colors somewhat blue together at the edges so I added a fine line of Necron Abyss. I wanted to add some wear to the markings but without having to go back and repainting it on so I tried using a masking medium that “paints” on and once dry allows you to paint over it, and when done just rub it off. It didn’t seem to work to well on this tank as …