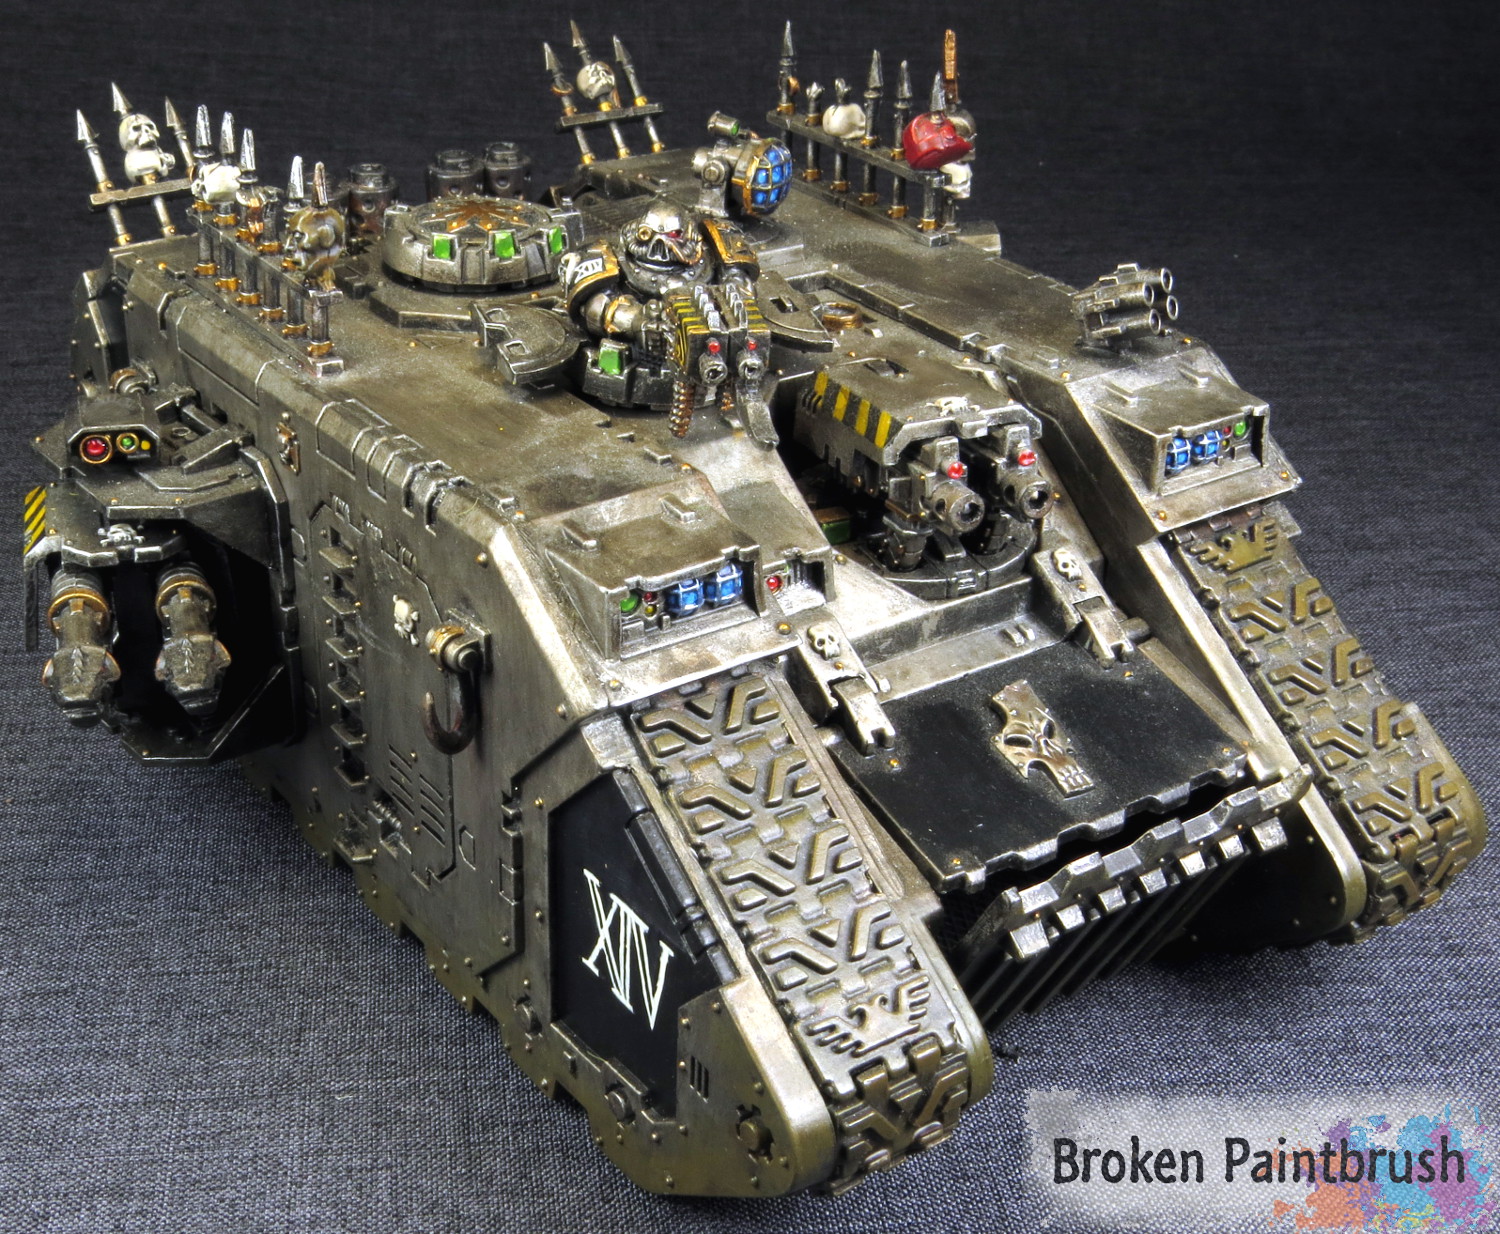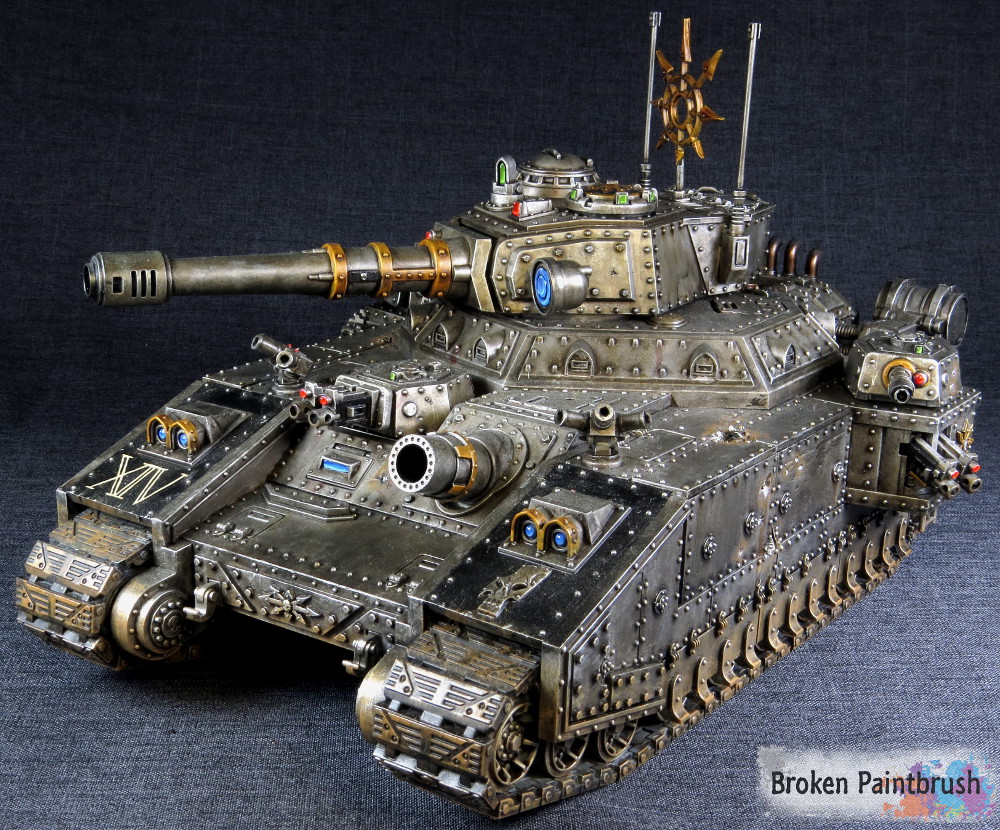
Iron Warriors Baneblade
Editor’s Note: I painted the Baneblade a few years back but didn’t have great pictures for it, so while I am busy packing and moving, its a great time to finally get him a new post. Now a days every 40k army needs a super heavy to bring to the table. An Ork Stompa, a Knight Titan, or in this case, an Iron Warriors Baneblade super heavy tank. IÂ built this tank nearly 4 years ago shortly after it came out, at the time it was the largest, and most amazing kit Games Workshop produced and part of the launch of Apocalypse. At the time I didn’t have any loyalist army so I clearly needed to build an Iron Warriors Baneblade for the 14th Grand Company. In keeping with my other Iron Warrior tanks, the Chaos icons are kept to a minimum and the tank is mostly the typical iron and gold trim. I did spend a good deal of time scraping away the Imperial Iconography that decorates the standard build, but a good chisel blade …